
Spring is just around the corner, and it’s time to start planning your garden. Starting seeds for a spring garden can be a total blast, but it can also be overwhelming, especially for those who have never attempted it before. But don’t worry, whether you’re a gardening pro or a complete newbie, this guide will give you all the information you need to get started on your spring seed journey.
Picking the Right Seeds
First and foremost, it’s crucial to pick the right seeds for your specific climate and growing conditions. Not all seeds are created equal, and some will thrive in certain areas while others will just sit there and do absolutely nothing. So, before you start buying seeds, do your research on the types of seeds you want to plant and how they’ll perform in your area.
If you’re unsure where to start, check out your local gardening center or cooperative extension office. They can provide you with valuable information about which plants and seeds are best suited for your area.
When to Start Your Seeds
Once you’ve chosen your seeds, you’ll need to decide when to start them. This can vary depending on where you live and the types of plants you’re growing. But in general, most seeds should be started indoors about 6-8 weeks before the last frost date in your area. This will give your little seedlings enough time to grow and mature before they’re transplanted into your garden.
It’s important to note that some plants, such as tomatoes and peppers, require a longer growing season than others. So, if you’re planning to grow these types of plants, you may need to start them even earlier.
Preparing Your Seed Trays or Pots
Now that you’ve chosen your seeds and have a general idea of when to start them, it’s time to prepare your seed trays or pots. There are a few ways that you can go about this.
Option 1: Seed Starting Mix
You can find seed starting mix at any nursery or gardening retailer. Seed starting mix is a pre-mixed soil that is designed specifically for starting seeds. It’s lightweight and porous, which makes it easy for young roots to grow.
One brand of seed starting mix that I personally recommend is the Sungro Black Gold seed starting mix. This option is more convenient because it’s already premixed.
Option 2: Make Your Own Seed Starting Mix
Another option is to make your own seed starting mix. The basic recipe for seed starting is 1 part perlite, 1 part vermiculite, and 2 parts peat moss or coco coir.
Making your own seed starting mix is convenient if you already have these materials lying around. Plus, you’re able to control what goes into your mix.
Option 3: Rock Wool
Finally, another way to start seeds is with rock wool. Using rock wool is technically a hydroponic growing method, but it can be very effective for starting seeds.
One advantage of using rock wool is that it allows for excellent water retention and air circulation. This means that your seedlings will have a better chance of germinating and growing strong roots.
However, this method is a lot more involved and requires more research because you’re controlling the environment of your seedlings and the pH level of the water.
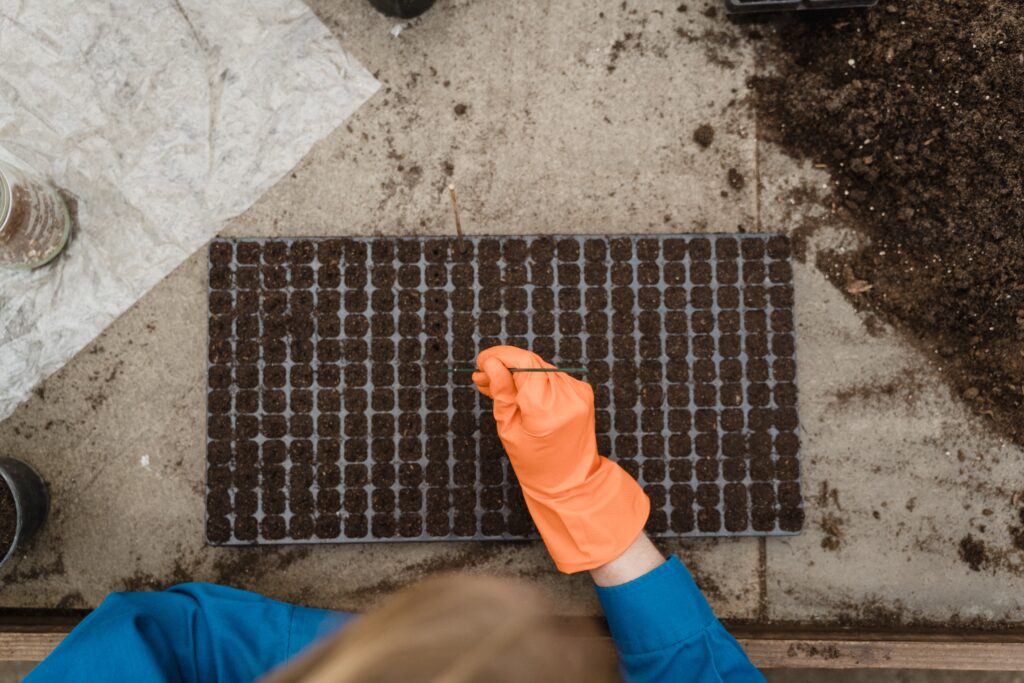
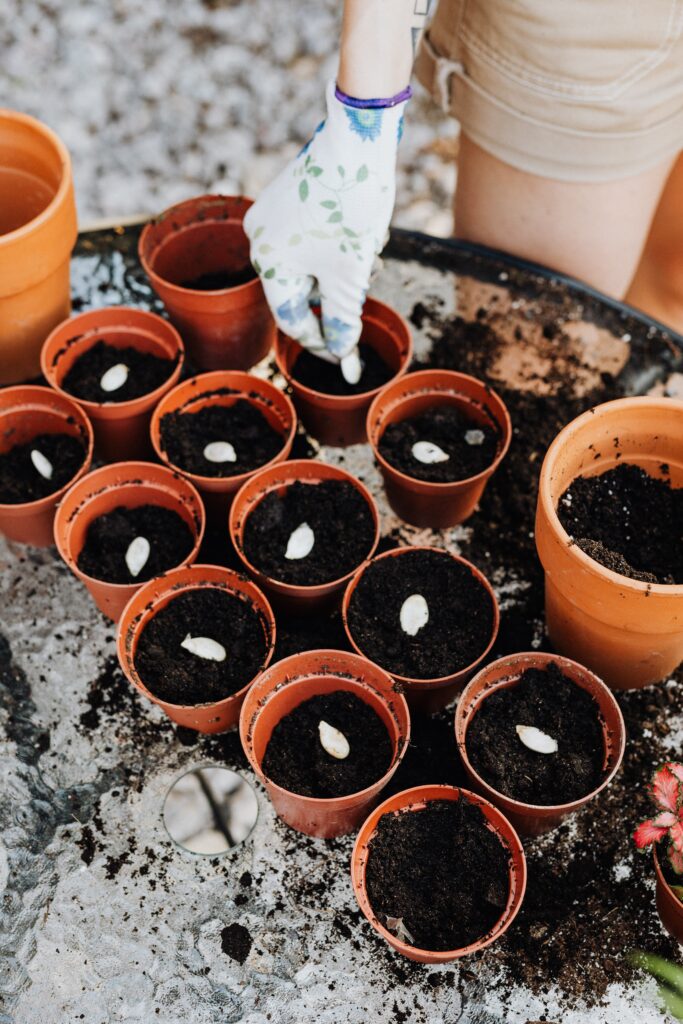
Sowing Your Seeds

Alright, so you’ve got your seeds and your growing medium. Next, you’re going to need a sterile seed tray. If you’re reusing seed trays, it’s recommended that you sanitize them before use. You can wash them with water and spray them with some vinegar to help naturally disinfect them. Wait for them to dry before filling them. Fill the seed tray with your growing medium and then sow the seeds according to the packaging. I like to put 2-3 seeds inside each section to increase my rate of germination. Label each tray or pot with the variety of seeds you’ve planted and keep track of planting dates in a spreadsheet or journal.
Seeds need warm and moist conditions to germinate, so cover your seed tray with plastic wrap or a humidity dome to create a mini greenhouse effect. A heating mat can also help keep the soil at the right temperature. Once the seeds have germinated, remove the covering and place them under a light source to promote healthy growth. A full spectrum grow light is the best option, but a bright window sill can also work.
As your seedlings grow, it’s important to thin them out to give the stronger ones more room to grow. This can seem harsh, but it’s necessary for the health of your plants. You’ll also need to feed your seedlings weekly with plant food mixed with water, which can be applied from the bottom to prevent over-watering and keep the topsoil from becoming too damp. Keep in mind that not every plant has the same nutrient requirements, so make sure to do your research.

Hardening Off Before Transplanting
Don’t skip this step! Once your seedlings are big enough, you’ll need to harden them off before transplanting them into your garden. This means gradually exposing them to outdoor conditions by increasing their time outside each day. Make sure to choose a cloudy day for the first few times, as direct sunlight can be too harsh for delicate seedlings. This step is crucial to prevent transplant shock and ensure that your plants thrive in their new environment.
Starting seeds for a spring garden can be a time-consuming and challenging process, but with the right preparation and care, you’ll be rewarded with a beautiful and bountiful garden. Remember to choose the right seeds for your climate, sanitize your seed trays, keep your seeds warm and moist, thin out your seedlings, and transplant them carefully. And don’t forget to enjoy the process and learn from your successes and failures. Happy gardening!
Pingback: How to Grow a Small Vegetable Garden in Your Apartment Balcony – botanicalbible.com